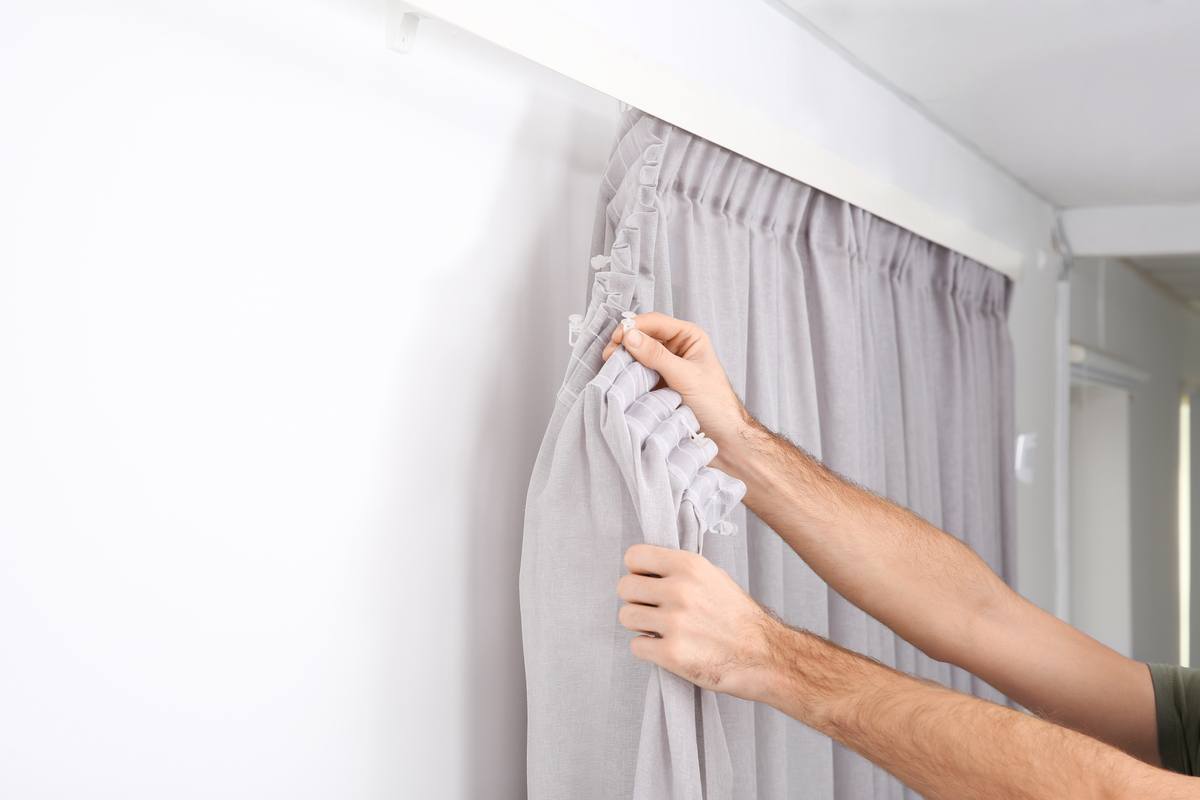
How to install curtain track gliders
Installing curtains is one way to make an interior design statement in your home; adding curtains to your window frame can completely change the feel of the room. As well as completing the look of the room, curtains are also very practical; they offer great light control based on the fabric you choose and provide you with privacy in your home. Installing your curtains is pretty simple, depending on the type of curtains you have chosen.
Many styles of curtains will require curtain tracks to be fitted which can seem daunting. Along with wondering about installing the curtain tracks, many people wonder how to install curtain track gliders, but it is actually pretty simple.

Gliders are an essential aspect of hanging your curtains, they allow curtains to open and close on a curtain track. Gliders run along the bottom or the back of a channel on the curtain track most of the time, sometimes they run over the front. Usually this varies depending on the type of curtains you choose.
Before installing the gliders, you first need to install the curtain rail.
How to Install Curtain Track Gliders
Remove the Track End
In order to install the gliders, you must first remove the stop end or track end; you should receive gliders with your curtain track, but you can purchase extra if you require extra stability for your curtains.
Positioning the Gliders
In order to ensure the curtains, hang neatly and prevent the top of the curtain sagging it is important to position the gliders a certain way. As a general guide look to position your gliders every 8-10cms along the curtain track.
Insert the Gliders
The gliders can be easily inserted into the glider channel. Make sure not to twist the end of the track, as this may jam the glider.
Hang the Curtains
Now that all your gliders are in place you are ready to hang the curtains, make sure you have a stable ladder and an assistant if possible, to help you.


